When it comes to installing our Solo Baffles to the wall it’s super easy, plus we’ve done the hard work for you!
When you receive your Solo Baffles you will notice that the Anchors are already inserted into the product, all you have to do is screw the Connect Baffle Hook to the wall (ensuring it’s level) and slide on the baffle, easy right?
Check List
As always here’s a handy check list of things you’ll need before you start to install your panel, you will need:
- A pencil,
- A cross head Screwdriver
- Spirit level
- Screws, these are not provided in your fittings. -We would advise to get flat head screws, speak to your local hardware store and they will be able to advise you on the correct screws needed for the material you are fixing to, e.g. plasterboard, soffit or concrete.
Fitting with Connect Anchor for Wall
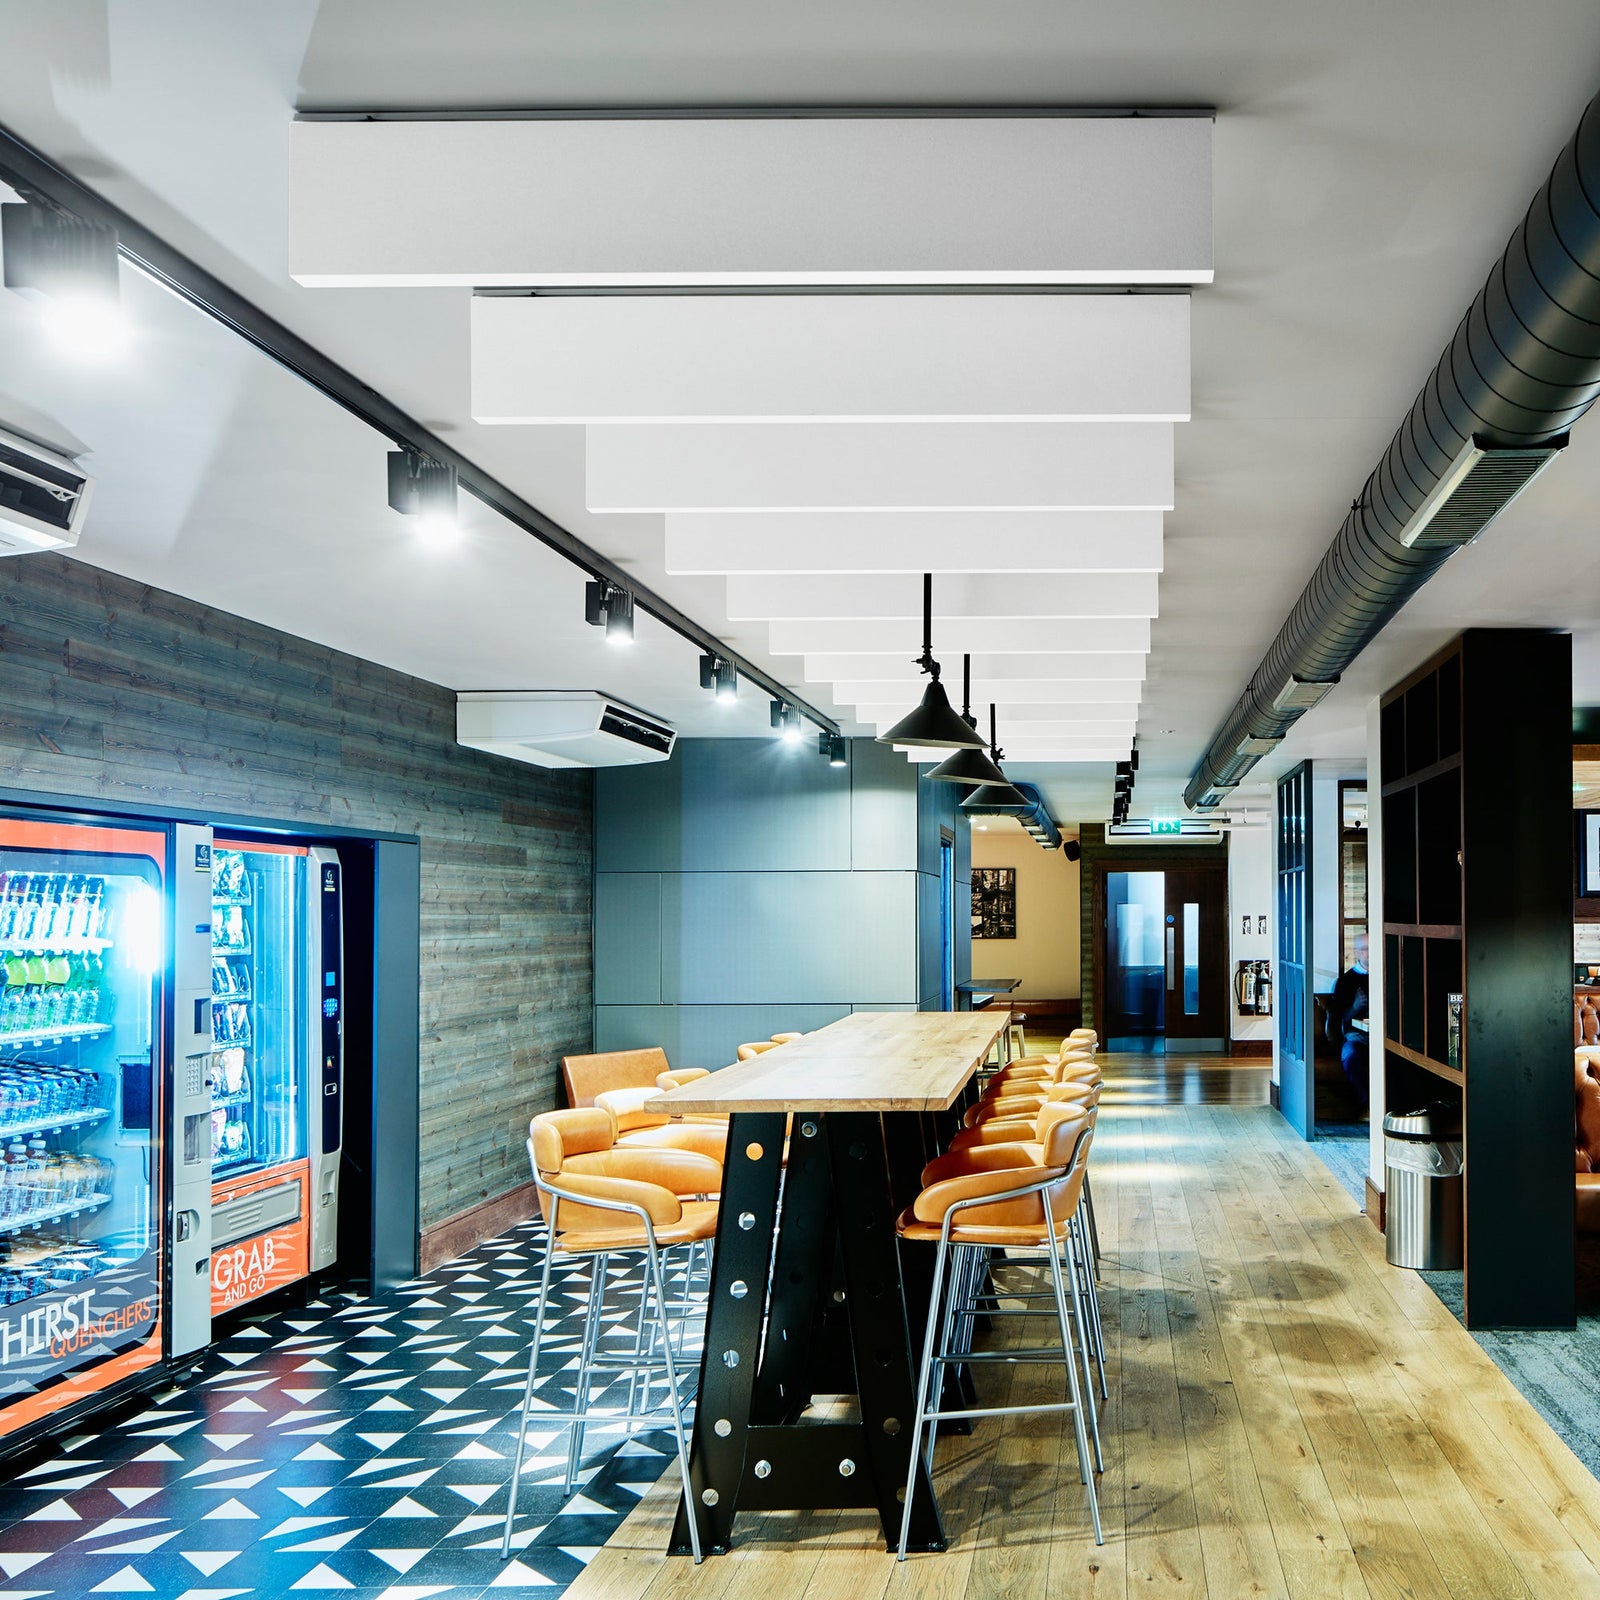
When you come to fit your Solo Baffle Wall, the most important thing is the gap between them, this not only makes them visually appealing but also ensures they can provide the best acoustic absorbency possible.
Firstly, decide where on the wall you’d like them to sit, they can be in a line or in a wave style, just make sure you are leaving a 300mm gap between each baffle. If you are hanging your baffles on top of each other make sure you leave 220mm gap between each layer.
Once you have done all the above and marked out where the baffles will sit, using a drill secure the Connect Baffle Hook to the wall, ensuring it is straight. Please note Solo Baffle Wall panels are not to be hung vertically not horizontally.
When the hook is attached to the wall, wearing gloves pick up the baffle and slide it over the hook release down to engage.

Repeat for each baffle and admire your work!